How to make a banner for any purpose! Christmas Edition
I’ve tried to do a lot more decorating for Christmas this year. I love Christmas, and I love decorating, but there just never seems to be enough time. I usually spend Christmas at my parents’ house so I’m not at my house anyway. This year because of the difference of calendars between my mom’s school and mine, I am going to be at home till right before Christmas. I’ve spent most of the time so far catching up on projects. I did a little home improvement project replacing the floor in my sunroom and turning it into more of a craft area. I cleaned the house. It needed it badly. I’ve been home like one weekend since maybe August for one reason or another.
I ordered a few burlap banners on Amazon a few weeks ago for a project I was making for my co-worker’s granddaughter’s birthday. This particular banner didn’t work for that project. I have been trying to figure out something to do with them. I have a Cricut, and I use it a lot, but I thought I would try to do something that would be easy if you don’t have a Cricut. I had all of these things on hand, as I use them for a lot of my projects. I’ve told you about my obsession with buying fabric at Joann’s. I had this Christmas fabric that I bought a few weeks ago.
List of supplies : burlap banner, iron-on adhesive, Christmas fabric, lettering stencils, sharpie, and a pair of scissors.
The fabric I'm using is already cut in squares. Just measure out the amount of iron on adhesive you need for your fabric. Put the shiny side down towards the back of the fabric.
Follow the directions on the adhesive package for iron temperatures and times. Basically, you just iron the adhesive to the back of the fabric.
Use the stencils to draw out your letters on the paper backing. Remember you want to do the letters in mirror image so they are the right way on the front of the fabric. I messed several up trying to get this right.
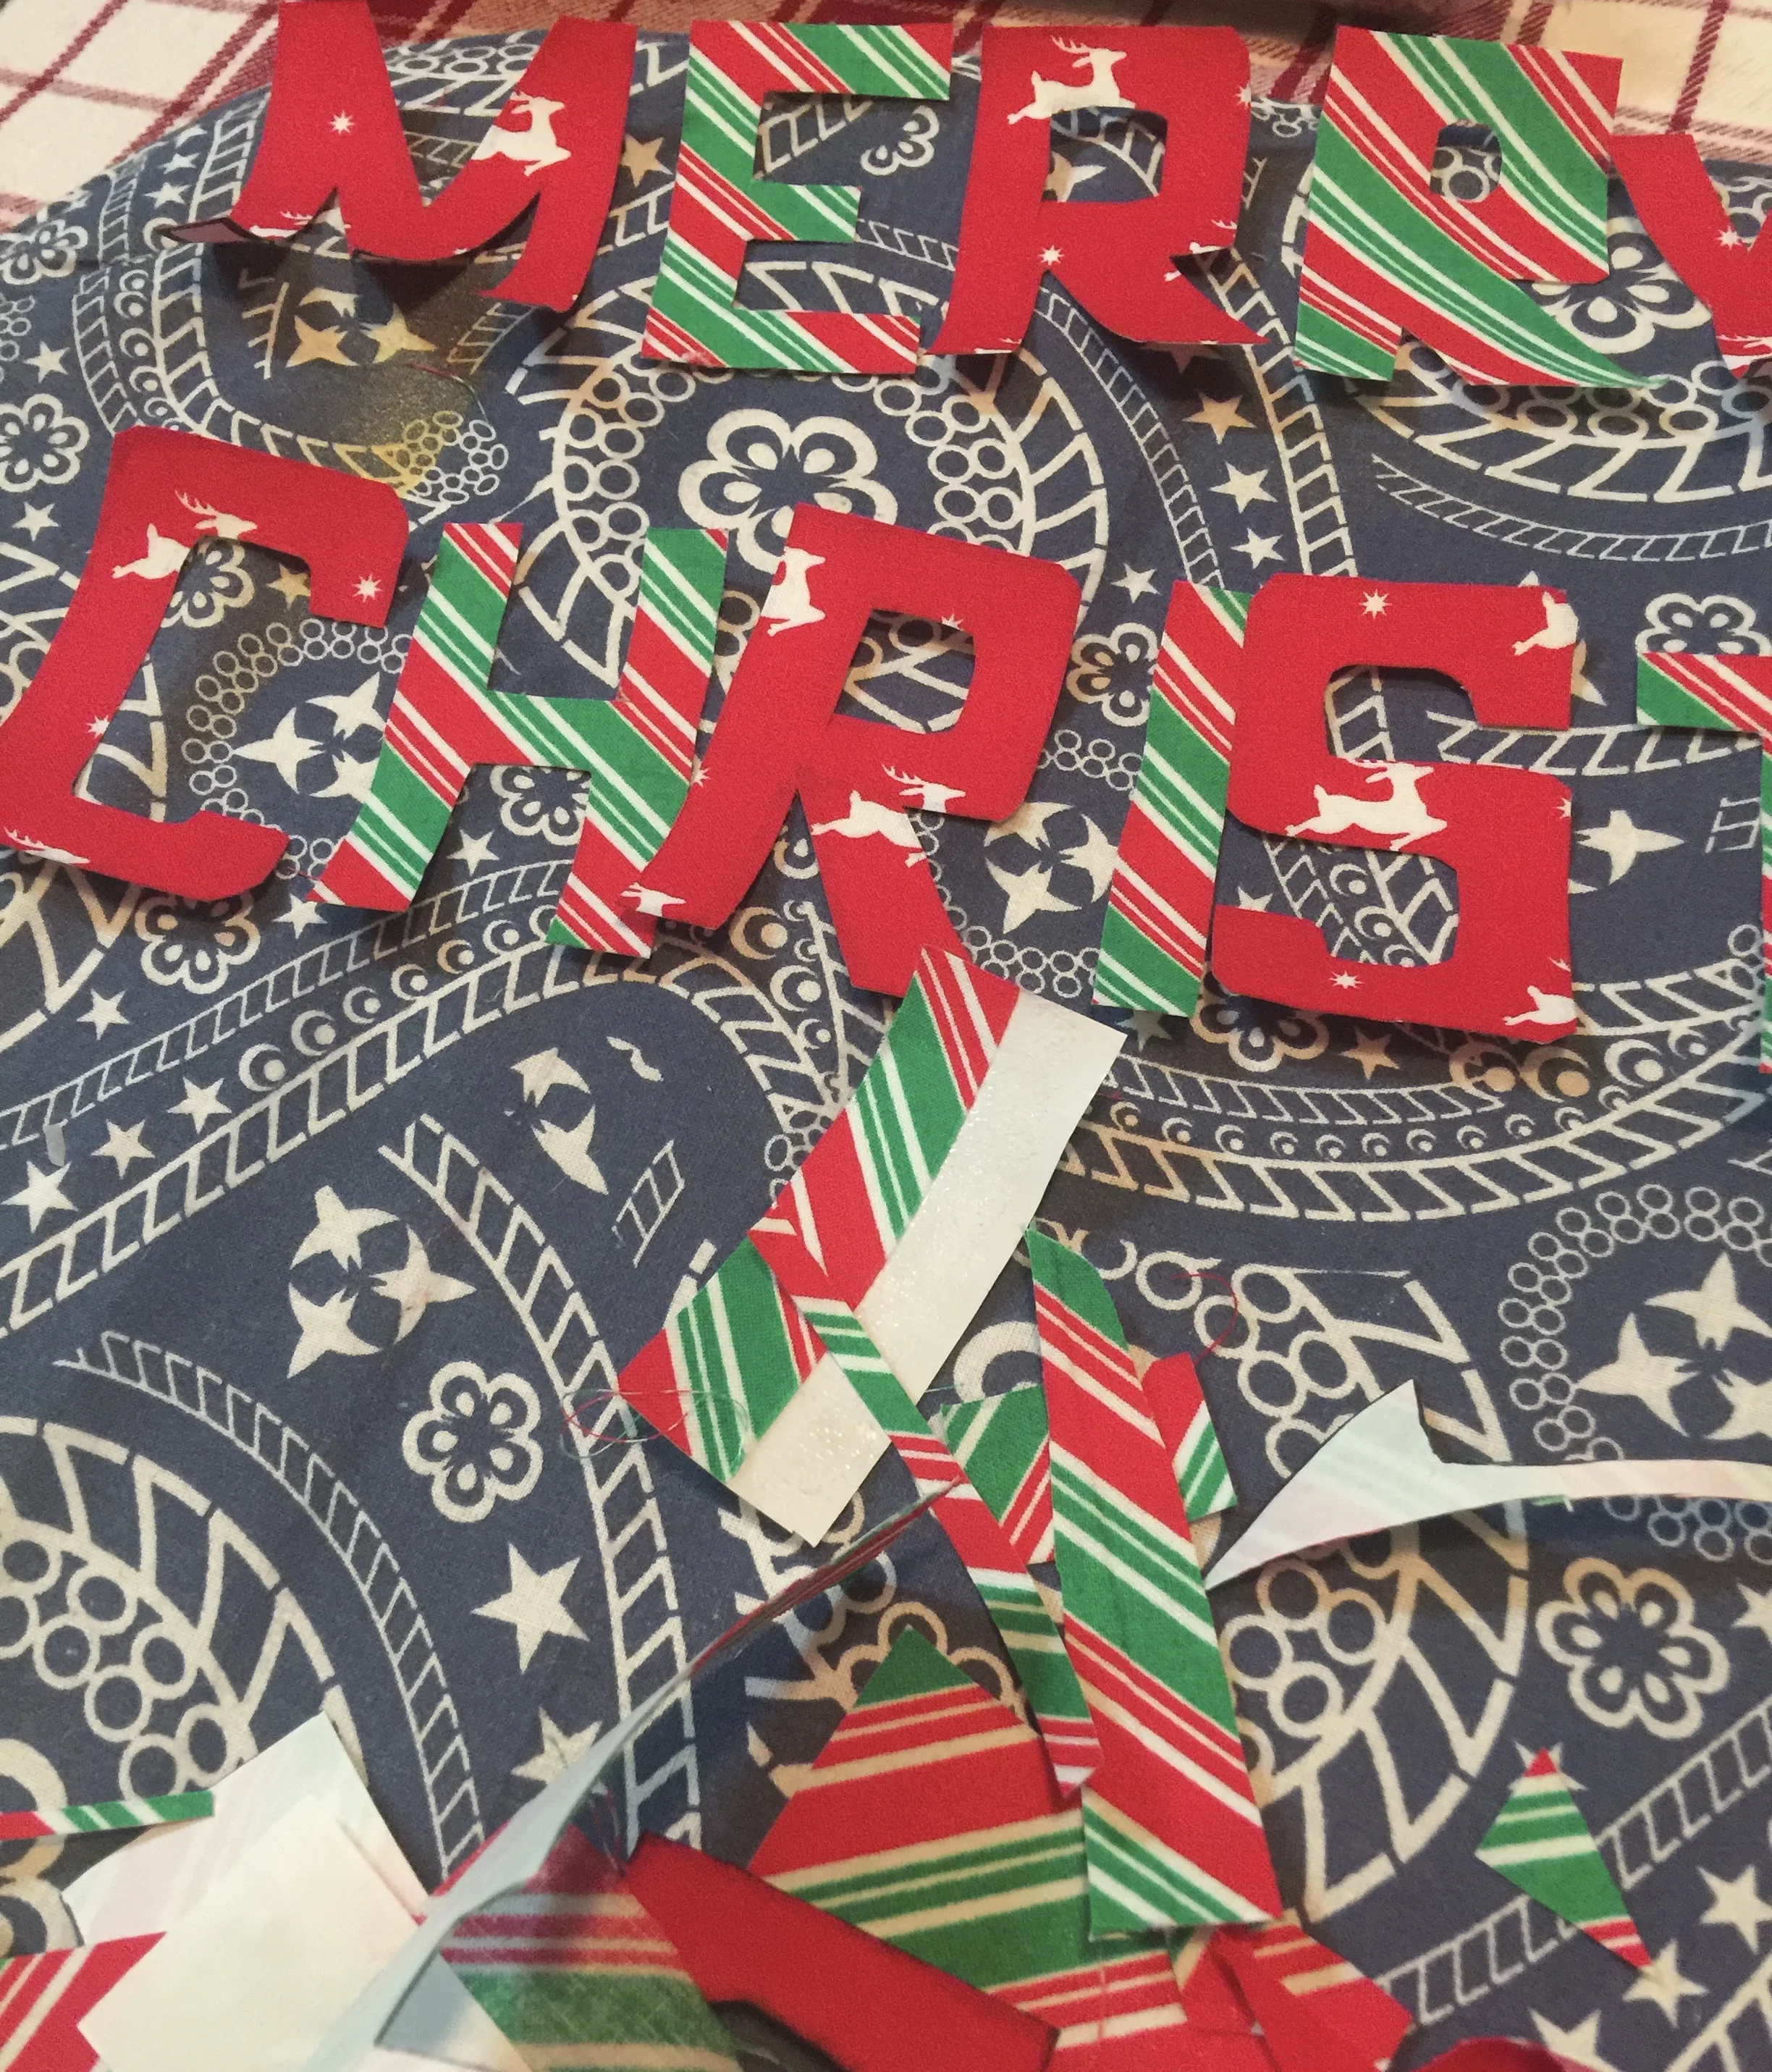
Just trace out the letters on the back and cut them out with your scissors. If you have a Cricut and you know how to cut out fabric letters you can have it do all the work for you. These stencils happened to be just the right size but you could print out letters online and trace those too. There are lots of ways to get these letters done.
When you get all the letters cut out. It is time to iron them on to your banner!
Peel the paper off of the back of each letter. Place the shiny side down on your banner and press down on it with the iron for a few seconds. Use the time listed on your iron-on adhesive package. Repeat this process for each of your letters.
I'm not big on ironing clothes. I have some very creative ways of getting out of ironing my clothes. I use a table top ironing pad and an iron I've had forever. It has sticky on it from touching the iron-on adhesive so it's not good for clothes! I just put a little piece of fabric over things I'm concerned about getting a little sticky on. That's probably a good idea anyway, avoid getting stuff on your iron in the first place!
Next step is to cut your remaining fabrics in strips to tie on your string for a little added color. I use my fabric scissors for this! I've learned the hard way that you need different scissors for paper and fabric. NEVER use your fabric scissors to cut paper!
Tie the fabric between each pennant. I usually rotate colors. I only added one piece between each section here but you can add several different pieces. It looks good if you have several different colors between sections.
I originally wanted to hang this over my fireplace but it was a little longer than I was expecting. So, I hung it on a wall in my dining room. You could make these for all kinds of things. I made one for my office at school with my school name and school colors. You could make them with someone's name or maybe your favorite sports team! Merry Christmas!
Here are just a few things from Amazon that will help you make this project for yourself.


